is nano right for me?
Nano Brows may be perfect if you:
✔ Have little to no brow hair
✔ Want a natural, effortless look
✔ Are tired of filling in your brows every morning
✔ Want to wake up looking put together
Nano Brows may not be recommended if you:
• Are pregnant or breastfeeding
• Have an active skin condition in the brow area
• Are currently undergoing chemotherapy
• Wish to continue using retinoids or exfoliating skincare products such as glycolic, lactic, or salicylic acids on the forehead and brow area. (Can cause discoloration and fading long term.)
• Have taken Accutane within the last year
• Have had recent Botox near the brows (wait at least 2 weeks)
• Have an old tattoo that may require removal or color correction first
Not sure if you're a candidate? Send me a clear photo of your brows and I'll happily guide you.
Before Your Nano Brow Appointment
Preparation matters. Please read through everything below carefully before your appointment.
One Week Before
Avoid:
Retinol
Chemical exfoliants
Brow waxing
Tinting
Chemical peels
Excessive sun exposure
24 Hours Before
Avoid:
Alcohol
Blood thinners (only if approved by your physician)
Excess caffeine
Intense tanning
Day Of
Come with:
✔ Clean skin
✔ No makeup around the brows
✔ Hair washed if possible (you'll want to avoid getting them wet afterward)
✔ A good meal beforehand (Initial sessions can be up to 2-3 hours)
✔ Comfortable clothes
Then just relax—we'll design your brows together before we ever begin.
Botox, Filler + Skin Treatments
Please avoid Botox or filler for at least 2 weeks before your appointment
Wait at least 1 week after your brow session before receiving Botox or filler
This helps ensure your facial muscles and skin are stable, so your brow shape heals evenly and predictably.
Vacations & Special Events
Timing is everything.
For the best experience, I recommend scheduling your appointment:
At least 2 weeks before a vacation involving swimming, beaches, hiking, or lots of sun exposure.
At least 4–6 weeks before a wedding, photoshoot, or other special event.
Your brows will go through several healing stages, including temporary darkening, flaking, and a lighter "ghosting" phase before the final color settles. Giving yourself plenty of time ensures your brows look their absolute best when it matters most.
Pro Tip
If you're unsure about the timing of your appointment, just ask! I'm happy to help you choose the best date based on your travel plans, workouts, or upcoming events.
what to expect at your appointment
Whether it's your first appointment or a touch-up, my goal is for you to feel relaxed, heard, and excited throughout the entire experience.
Appointment Length
Initial Appointment: 2–3 hours
Touch-Up Appointment: About 1 hour
Please plan accordingly, as you'll be lying comfortably on your back for most of your appointment.
Before We Begin
We'll start by talking about your goals, lifestyle, and the look you're hoping to achieve.
Feel free to bring inspiration photos! They're a great way to communicate the style you love. I'll also share my professional recommendations based on your natural features and what will heal beautifully over time.
Brow Design
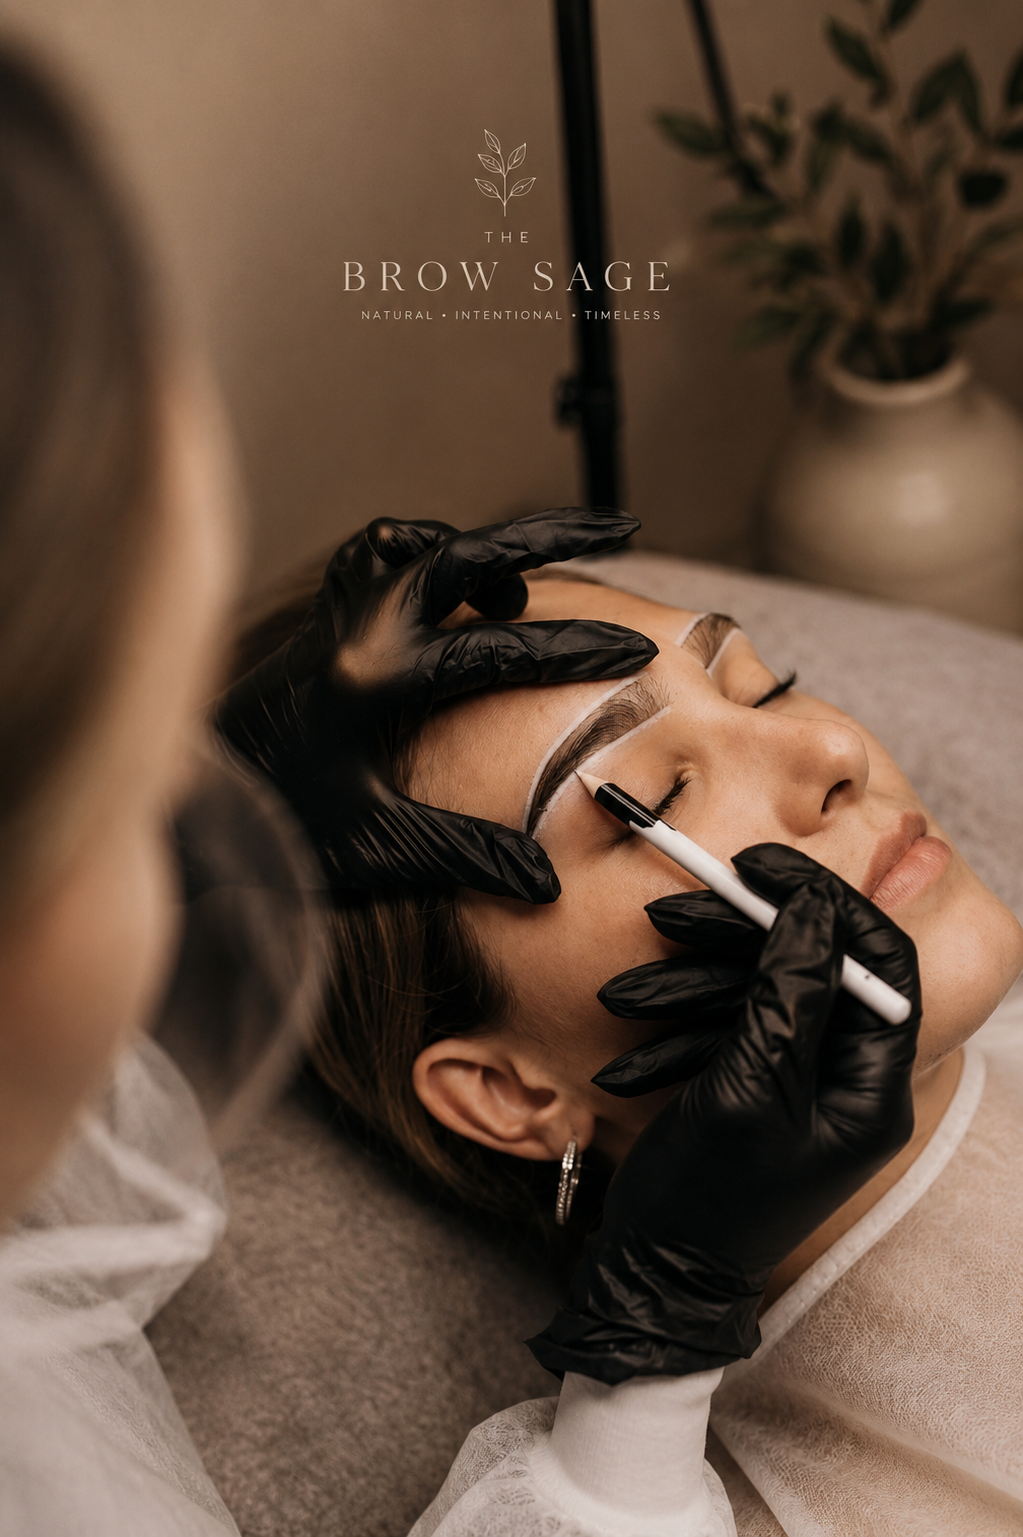
Before any pigment is placed, we'll carefully map and draw your brows with pencil.
We'll make adjustments together until we're both happy with the shape, style, and symmetry.
Nothing begins until you love the design.
During the Procedure
• You'll be lying comfortably for most of the appointment. (Let me know if you can’t lay flat on a massage table.)
• A secondary numbing gel is applied after the first pass to keep you comfortable.
• Most clients rate the discomfort around 3 out of 10.
Make Yourself at Home
Refreshments are always available.
Want to listen to your favorite playlist, a podcast, or enjoy a quiet appointment with minimal conversation? Just let me know—this time is yours.
AFTERCARE
Day 1 (Immediately After Your Appointment)
Leave your brows completely alone
If you notice any lymph fluid (clear/yellowish), gently blot with a clean tissue
Do not wash, touch, or apply anything unless instructed
If your skin is tender or have any redness feel free to use an ice compress, being careful not to get water on them
This allows the skin to begin healing undisturbed.
Days 2–14 Cleanse & moisturize
Keep it simple and consistent:
Cleanse
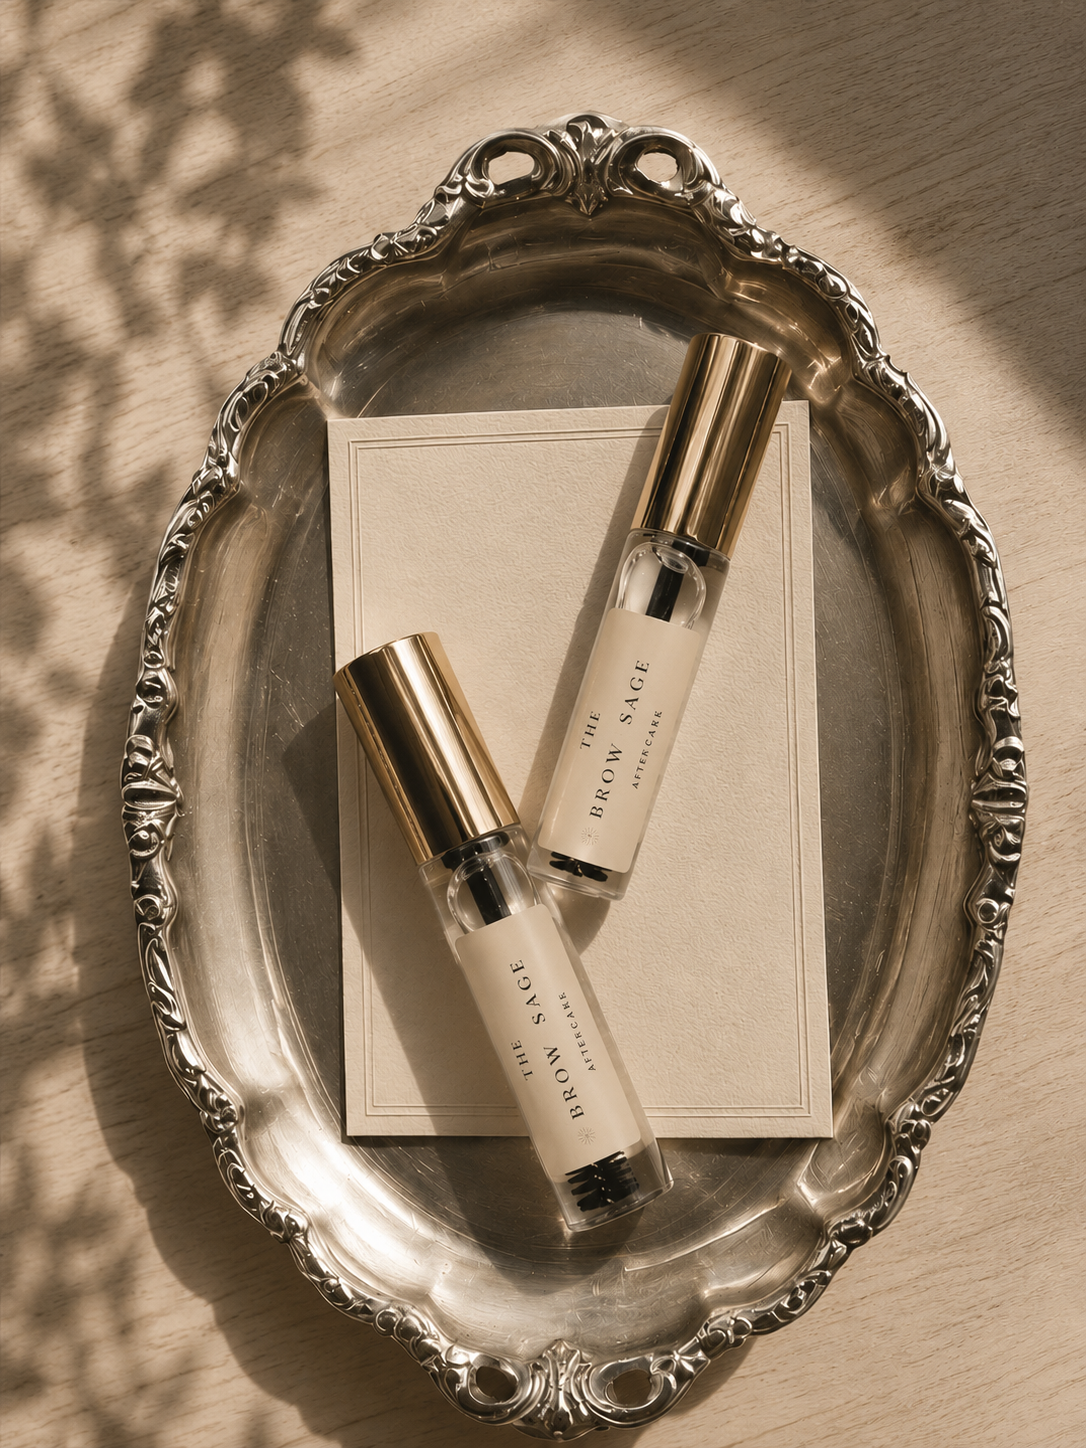
Gently wash using the cleanser provided.
Use clean hands and a light touch.
Pat dry—do not rub.
Moisturize
Apply a small amount of healing lotion with clean hands.
Use a very thin layer.
Less is more. Over-applying can affect healing.
Your Regular Skincare Routine
You can continue your normal face routine
Avoid applying any products directly on your brows (besides the products provided)
When washing your face:
Cleanse your face as usual, avoiding the brow area
Then do a separate, gentle cleanse on your brows using the cleanser provided
During the Healing Process
You may experience dryness, flaking, or light scabbing
Some areas may appear patchy or lighter than others
It can feel like pigment didn’t fully “stick” in certain spots
This is completely normal.
Not all pigment retains evenly during the first session, and your skin is actively healing and regenerating.
Important Reminders
Do not pick, scratch, or peel
Avoid sweating, swimming, saunas, and sun exposure
Avoid makeup directly on the brows
Avoid active skincare (retinol, acids) near the area
Let your skin heal naturally.
Final Results
Your brows will continue to soften and settle over the next few weeks, healing into a more natural, blended result.Healing is a process—and understanding it will help you feel calm and confident every step of the way.
Immediately After
Brows will appear more defined, slightly darker, and crisp
This is not your final result
Days 3–7
Brows may feel dry, tight, or lightly flaky
You might notice some patchiness or unevenness
This is completely normal.
Days 7–14
Color may appear lighter, softer, or even faded in certain areas
You may feel like pigment has “disappeared” or didn’t stick in some spots
This is part of the natural healing cycle.
Weeks 3–6
The pigment begins to settle back into the skin
Color softens into a more natural, lived-in result
Pigment Retention
It’s important to understand:
Not all pigment will fully retain after the first session
It is completely normal to have lighter areas, gaps, or spots where pigment didn’t stick evenly
Your skin, lifestyle, and healing process all play a role.
This is why a perfecting touch-up is often recommended to:
Reinforce shape
Fill in any areas of low retention
Refine the final result
Think of the first session as the foundation, and the touch-up as the refinement.
loving Your Brows Long-Term
Your daily skincare routine has the biggest impact on how long your Nano Brows last.
Avoid Active Skincare
Retinoids and exfoliating acids (such as glycolic, lactic, and salicylic acid) speed up skin cell turnover and can cause your brows to fade faster or change color over time.
Keep these products at least 2 inches away from your brows. If you choose to apply them closer, you do so at your own risk.
Minimize Sun Exposure
Too much sun can gradually fade your Nano Brows over time. When spending long periods outdoors, wearing a hat is one of the easiest ways to help protect your investment.
Hair Growth Serums
Many brow and lash growth serums contain active ingredients that can affect pigment retention. Avoid applying these products directly on your Nano Brows unless we've discussed a product that's safe to use.
Be Careful with Oils
Regular use of heavy oils directly on the brows may soften the pigment over time, causing the hair strokes to appear less crisp.
Protect Your Investment
✔ Keep active skincare away from your brows.
✔ Be gentle when cleansing and exfoliating.
✔ Ask before using a new product around your brows.
A few simple habits can help your Nano Brows stay beautiful for longer.
Touch-Ups + Booking
Some clients love their brows after the first session and don't feel they need a touch-up. Others choose a perfecting session to:
✔ Fill in lighter areas
✔ Add a little more density
✔ Refine the final shape
Initial Touch-Up
If you choose to have an initial touch-up, your brows must be fully healed for at least 6 weeks before your appointment.
Wait 2 weeks to see the healed results, then decide if you want a touch up.
We'll schedule it for a date that's at least 6 weeks after your first session.
Long-Term Refresh
You'll know it's time for a refresh when:
• You're filling them in again.
• The color has softened more than you'd like.
• The hair strokes aren't as crisp.
• You miss that fresh, effortless look.
Most clients return every 12–24 months, but everyone's skin fades differently.
There's no prize for waiting until they're almost gone. A light refresh is usually quicker, easier, and keeps your brows looking naturally beautiful.